We have been waiting for the iOS 8.4 jailbreak for quite sometime, and the day is finally here. TaiG has released an untethered iOS 8.4 compatible jailbreak. It is worth noting that this jailbreak tool is also compatible with all devices running iOS 8.1.3, iOS 8.2, iOS 8.3 & iOS 8.4. So on popular demand, Here’s how you jailbreak your iDevice on iOS 8.4.
Before we begin,
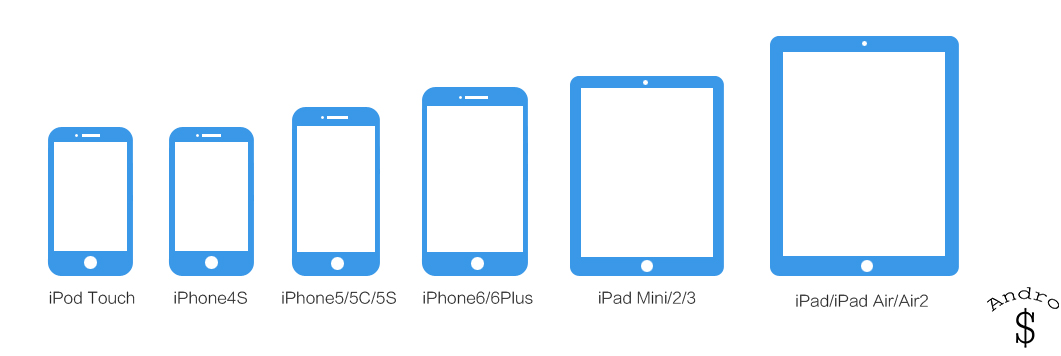
1) This works on the Following Devices running iOS 8.1.3-8.4.
- iPhone 6
- iPhone 6 Plus
- iPhone 5s
- iPhone 5c
- iPhone 5
- iPhone 4s
- iPad (2, 3, 4, Air, Air 2, mini 1, mini 2, mini 3)
- iPod touch 5
2) This will work with Windows.
3) You must have the latest version of iTunes installed. If not, head here, download, and install the version there.
4) If you have a Passcode Enabled, please Remove it before you proceed. (Go into the Settings app on your device and temporarily disable it in the General —> Passcode Lock section. (You can re-enable it after the jailbreak is complete)
5) Turn off the “find my iPhone” Feature under iCloud Settings. (You can re-enable it after the jailbreak is complete)
6) Turn on Airplane mode to prevent any updates or data-driven apps from interfering with the jailbreak process.
7) Plug your iPhone in to the computer, and perform a Backup with iTunes.
8) Make sure you have Restored your firmware via iTunes and not installed the OTA Update as sometimes it might cause an issue. If you see any issue, Please restore the firmware via iTunes. Follow my guide here (Follow it by using the latest iOS 8.4 ipsw files).
How to Jailbreak –
1) Download the Latest version of the TaiG Jailbreak Tool to your computer.
2) Launch the TaiG Jailbreak Tool with Admin Rights on Windows (Right Click and Run as Administrator).
3) Now Connect your iOS device to your PC.
4) Uncheck the second option below Cydia to prevent installing 3K Assistant if you don’t want that.
5) Now click on the Green button in the center to start Jailbreaking. Then Give it a Few Minutes. (By any chance if you’re stuck at 20%, you will have to downgrade your iTunes to 12.0.1.)
That’s it! Now go ahead and Enjoy Customizing your iDevice.
WARNING – Whatever you do with your phone, you do that entirely on your own risk and you have full responsibility for the consequences. The author can’t be responsible for any damages of your phone!
Show your support to the Developers, Consider Donating.
If you liked the content, Please Share with your friends who might find it useful.





5 comments
yeah and what happens when the application says itunes is too old or there are no apple drivers even though i know for a fact there is?
As mentioned in the article, Downgrade your iTunes to 12.0.1.
What Happen Stops in 20% and restarts phone…
As mentioned in the article, Downgrade your iTunes to 12.0.1
yes downgrade to 12.0.1. does not work…